
GPT Image 2.5 Launches: New Features, Flare/Sunburst Differences & Pricing
GPT Image 2.5 was released on September 8, 2026, bringing faster generation, more precise editing, and more stable multi-turn modifications. This article summarizes the official positioning of Flare and Sunburst, API pricing, ChatGPT access points, and new features like Sketch, to help you choose the right creative approach.
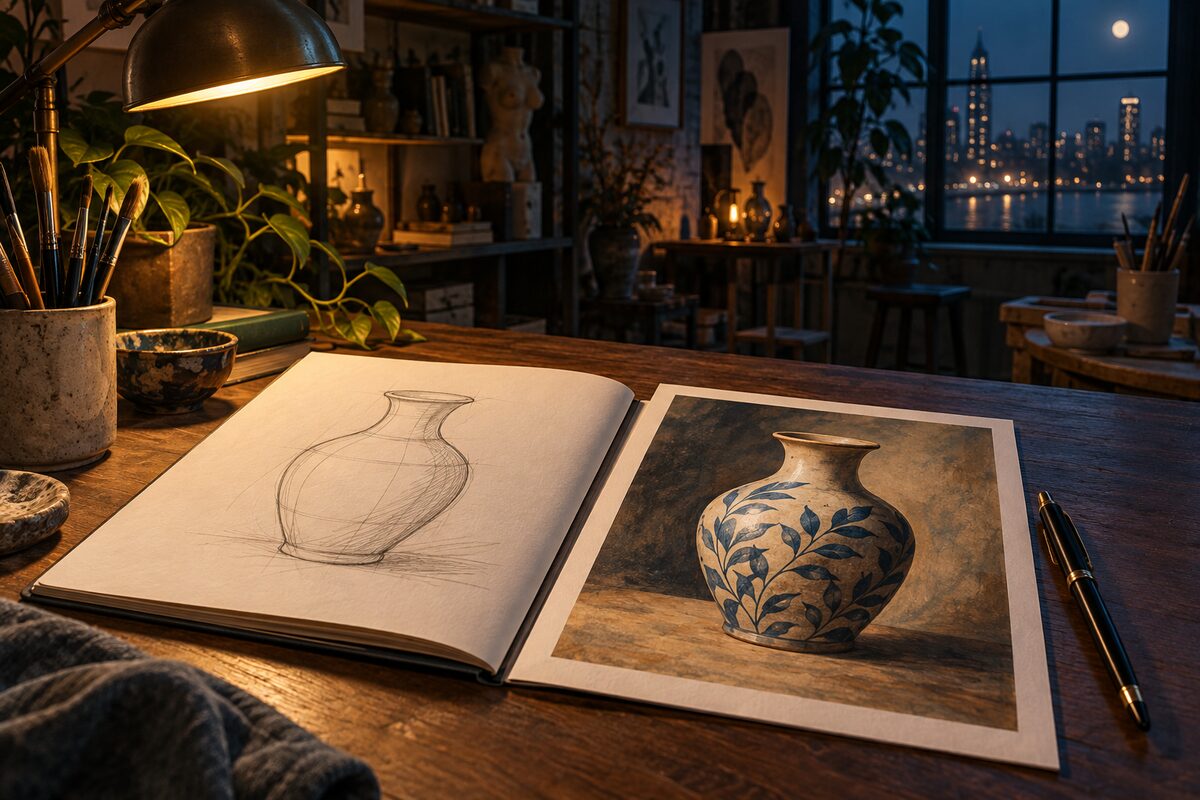
GPT Image 2.5 was officially released on September 8, 2026. OpenAI also updated the ChatGPT Images creation experience and introduced gpt-image-2.5-flare and gpt-image-2.5-sunburst in the API: the former focuses on fast, everyday high-quality generation, while the latter focuses on more refined creation and editing control. The official release announcement confirms both models.
If you care about making posters, editing product images, or generating article illustrations, start by looking at the creation entry points and editing features. If you want to integrate image generation into an app, look at the models and billing first. This article is compiled from official materials as of September 9, 2026; all model-effect and speed improvements reflect official statements.
What Are the GPT Image 2.5 Features and Updates?
This update is mainly about “continuing to modify after generation.” OpenAI highlighted three improvements: subjects in referenced images are easier to keep recognizable, local edits better follow the requested edit area, and previously settled details are better preserved across multiple rounds of editing. Officials also said that compared with Images 2.0, generation latency can be reduced by up to 50%; this number is not a fixed time commitment for every image.
For practical workflows, you can interpret these changes as: preserve product characteristics when making product images, try to maintain layout when editing posters, and reduce the need to regenerate an entire image during consecutive edits. You should still check final assets for text, details, and edit scope.
The ChatGPT creation entry also adds several assisted methods:
- Sketch: Express your composition with simple lines, then add text requirements.
- Templates: Start from forms such as posters or product displays and fill in creation details.
- Image comments: Put edit comments directly on the image to specify where you want changes.
- Prompt sharing: Share creation prompts so other people can make their own versions.
These are product features and official capability descriptions; they cannot be directly converted into a success rate or rework count for a particular task.
What Is the Difference Between GPT Image 2.5 and GPT Image 2?
Combining the GPT Image 2 model page and the new documentation, the differences between the two generations can be divided into model capability and creation entry points.
| Aspect | GPT Image 2 | GPT Image 2.5 |
|---|---|---|
| API models | gpt-image-2 |
Split into two models: Flare and Sunburst |
| Generation and editing | Already supports text-to-image and image editing | Official emphasis on improvements in subject fidelity, local editing, and style adherence |
| Multi-turn edits | Can continue editing an existing image | Official emphasis on preserving more established details after consecutive edits |
| Generation speed | Baseline for this official comparison | Officials say Images 2.5 latency drops by up to 50%; Sunburst prioritizes precision, so no single time applies |
| Quality levels | low, medium, high, auto |
Adds xhigh and max; auto is still available |
| Billing comparison | Billed by input and output tokens | Both models use the same standard token unit price; cost per image still varies with actual usage |
| ChatGPT creation experience | The Images experience before the update | Adds Sketch, Templates, image comments, and prompt sharing |
This table compares official descriptions. For existing workflows, a more meaningful test is: after editing, does it retain the subject and text you were happy with, and what is the total waiting time and total cost for completing the same task? Do not interpret “upgrade” as meaning every generation is faster or no detail ever changes.
What Is the Difference Between GPT Image 2.5 Flare and Sunburst?
Both models can generate and edit images from text and reference images. The following model-selection information is organized according to the Flare model page and the Sunburst model page.
| Item | GPT Image 2.5 Flare | GPT Image 2.5 Sunburst |
|---|---|---|
| API model ID | gpt-image-2.5-flare |
gpt-image-2.5-sunburst |
| Official positioning | Fast, everyday high-quality image generation | More refined image generation and editing |
| Official suggested scenarios | Everyday content, quick prototypes, many creative candidates | Polished product images, final creative assets, higher-requirement editing tasks |
| Priority when choosing | Output speed and iteration efficiency | Editing precision and final details |
| Quality parameters | low, medium, high, xhigh, max, auto |
Same as left |
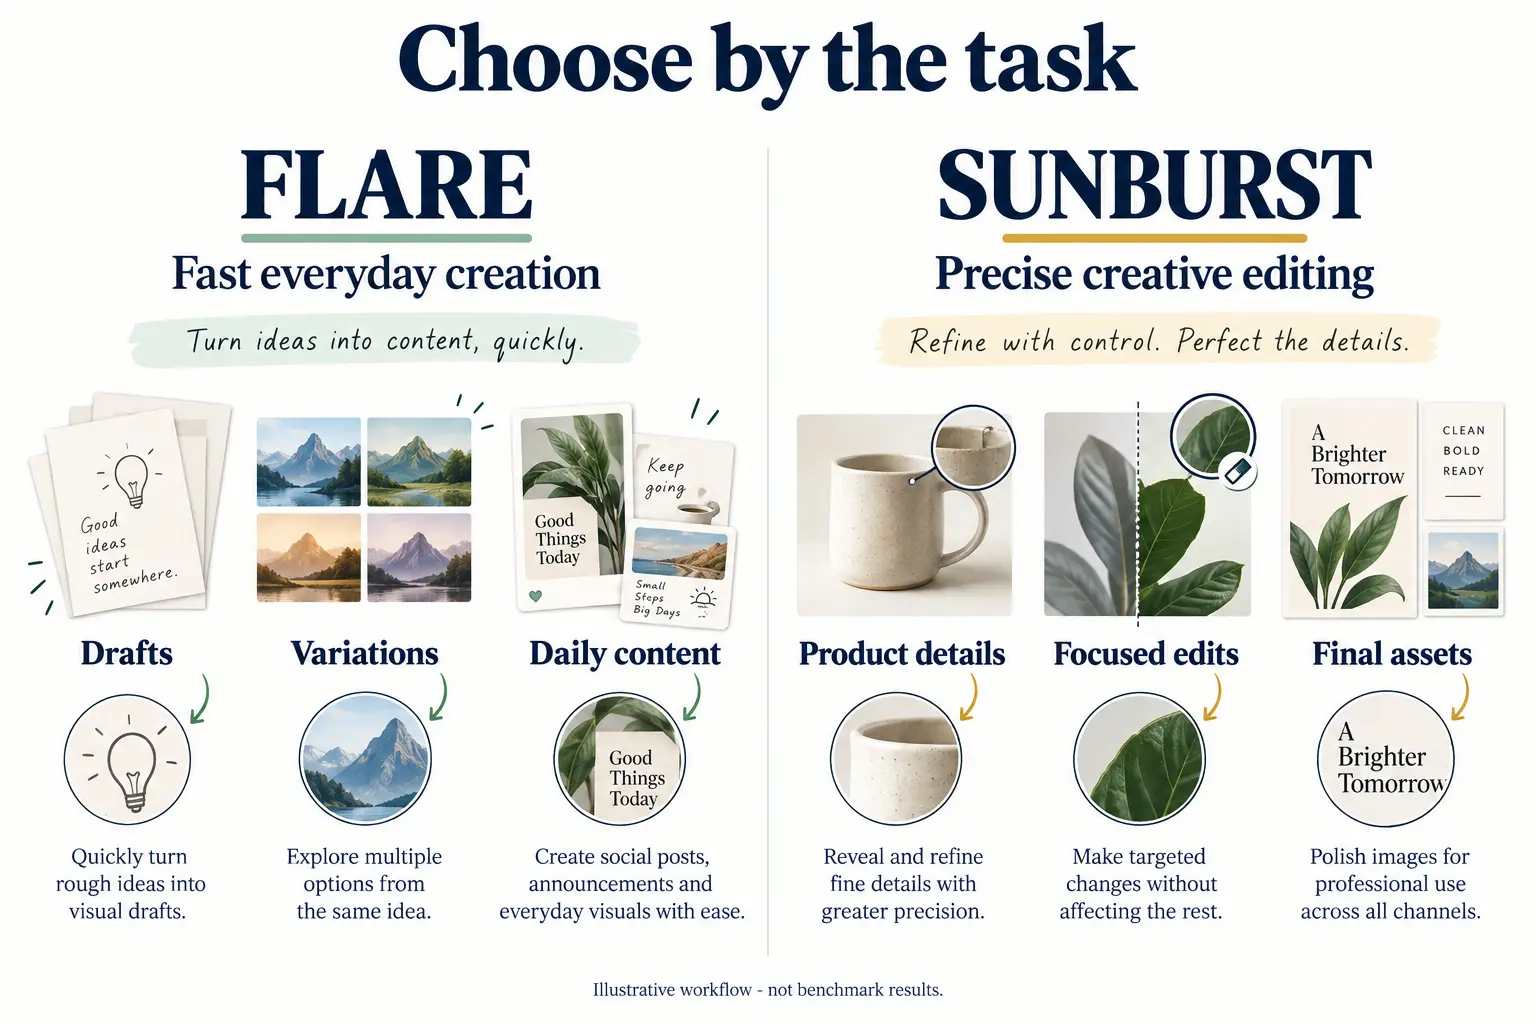
A simple way to choose: first list the elements that cannot change, such as product outline, logo, text, and layout, then decide whether this task cares more about waiting time or editing accuracy. When you need many attempts, start with Flare. When details are already decided and delivery is close, consider Sunburst. Actual quality and time should be verified with your own assets.
What Is GPT Image 2.5 Pricing?
As of this article’s verification date, the two models have the same standard API token unit price. All prices below are in USD per million tokens, based on the OpenAI API pricing page and the model pages above.
| Billing item | Flare | Sunburst |
|---|---|---|
| Text input | $5.00 | $5.00 |
| Cached text input | $1.25 | $1.25 |
| Image input | $8.00 | $8.00 |
| Cached image input | $2.00 | $2.00 |
| Image output | $30.00 | $30.00 |
The same token unit price does not mean the cost per image is the same. Actual cost depends on the input, output, and cached tokens used in a request, and usage changes with the assets and generation settings. When using the official calculator, select the specific 2.5 model, quality, and size; do not directly reuse GPT Image 2 per-image cost estimates.
For budgeting, record the usage from real requests, also count failures and rework, and then calculate the cost per deliverable image. Do not misread “per million tokens” as “per image,” and do not treat a single call cost as the cost of completing an entire design task.
Image generation inside ChatGPT plans and public API billing should be reviewed separately. For basic differences between plans and upstream model costs, you can also refer to the accounts, plans, and model fees.
How to Use GPT Image 2.5 in ChatGPT
According to the ChatGPT Images official help document, you can describe the image you want directly in a conversation, or choose the Images entry. After uploading an existing image, describe what you want to change to enter the editing flow. The normal Images feature covers all plans. Image generation with reasoning is currently available for Plus, Pro, and Business, with Enterprise and Edu supported later; check what is shown in your current account.
To try the new entry points, first choose a clear, small task:
- Sketch creation: On mobile, enter
@, choose Sketch, draw the rough layout, then describe the style and content. - Template creation: Open Images → Templates, choose a type, and fill in the information. According to official notes, templates are not yet available in Work mode.
- Local editing: Open an image, select an area or add comments, and clearly state what should be preserved.
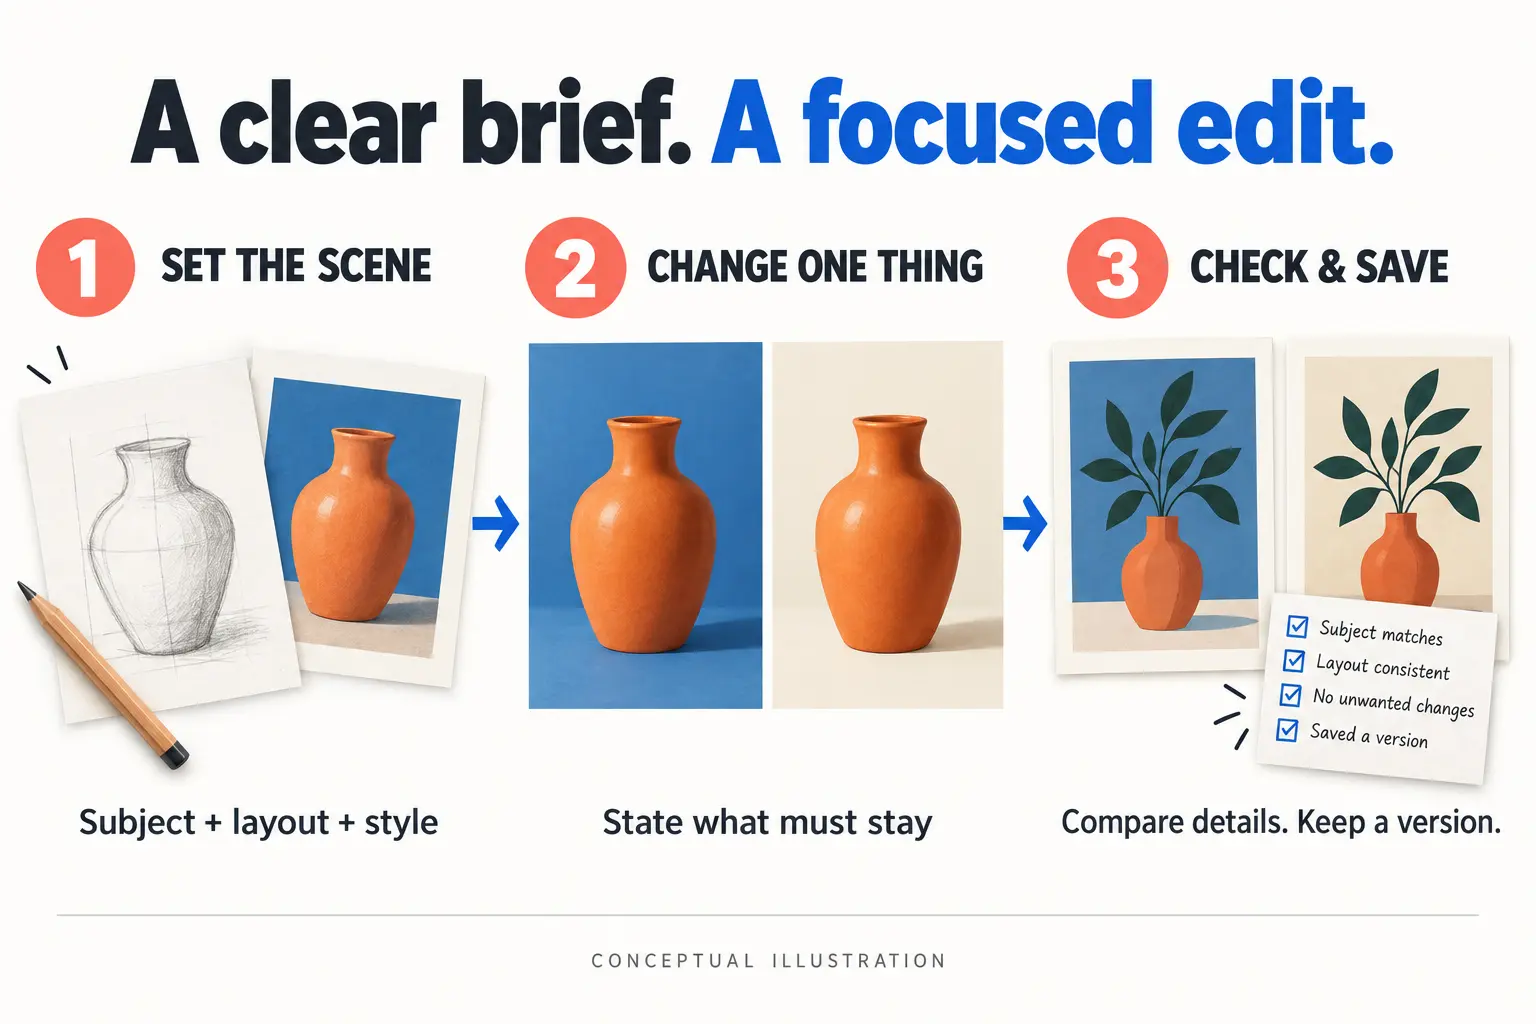
Here is a sample editing prompt you can try to express the scope of your edits. It is not a guarantee of results:
Change only the background to a warm cream studio backdrop.
Keep the product shape, logo, label text, camera angle, and composition unchanged.
Do not add objects or rewrite any text.
Changing only one target per round makes it easier to verify results. When checking, compare the original image for subject outline, text, and edges, and save the versions you are satisfied with. The official help documentation also reminds you that edits may extend beyond the selected area.
GPT Image 2.5 Use Cases: From Generation to Multi-Round Refinement
The official image generation guide covers text-to-image, reference-image creation, local editing, and multi-turn conversations. Below, the usage is organized by creative task. API parameters follow official documentation; the examples show the request structure and have not been individually tested with a public API Key.
1. Text-to-Image: Start with a Single Description
This works well for article illustrations, poster drafts, product presentation backgrounds, and design candidates. First write down the purpose, subject, style, composition, and any text that must appear, then choose the size and quality. There is no need to set every option to the highest level on the first attempt.
The Images API can generate images independently and can also use n to request multiple candidates. Below is an example request body for generating one illustration, sent to the public API’s /v1/images/generations endpoint with API Key authentication:
{
  "model": "gpt-image-2.5-flare",
  "prompt": "A warm editorial illustration of a ceramic cup beside an open book. Landscape composition, no text.",
  "size": "1536x1024",
  "quality": "medium",
  "n": 1
}
After receiving results, confirm that the images decode and open correctly and that the quantity matches expectations, then check the subject and text. Multiple candidates increase your options but also increase generation usage.
The mug image below comes from the official OpenAI guide and shows a text-to-image output; it is not the actual result of running the parameter example above.

Image source: OpenAI Official Image Generation Guide.
2. Reference-Image Creation: Combine Existing Assets into a New Scene
For example, combine several product photos into a gift-box showcase image, or create different scenes around the same product. Give each reference image a clear role: which one provides the subject, which one provides the style, and which one is only a layout reference.
The official image edit endpoint supports generating or editing scenes from input images. Responses can also accept image references via image URLs, Base64 data URLs, or Files API file IDs. After uploading assets, explain which features must be preserved so that “reference style” is not mistaken for “replace the subject.”
The official reference-image example combines four separate products into one gift box. You can view the input assets separately: body lotion, soap, incense kit, and bath bomb. Below, the left shows the four reference images and the right shows the combined result; on narrow screens, the result appears after the reference-image area.
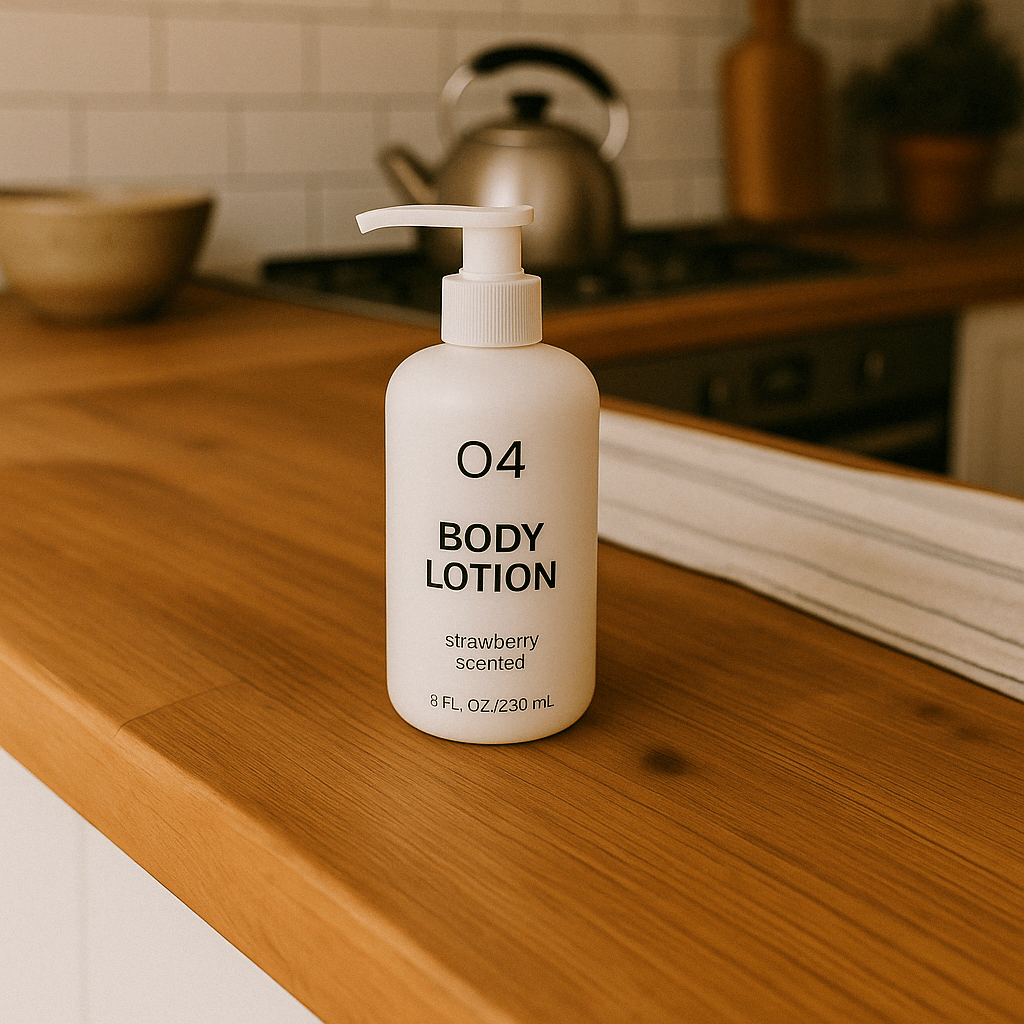
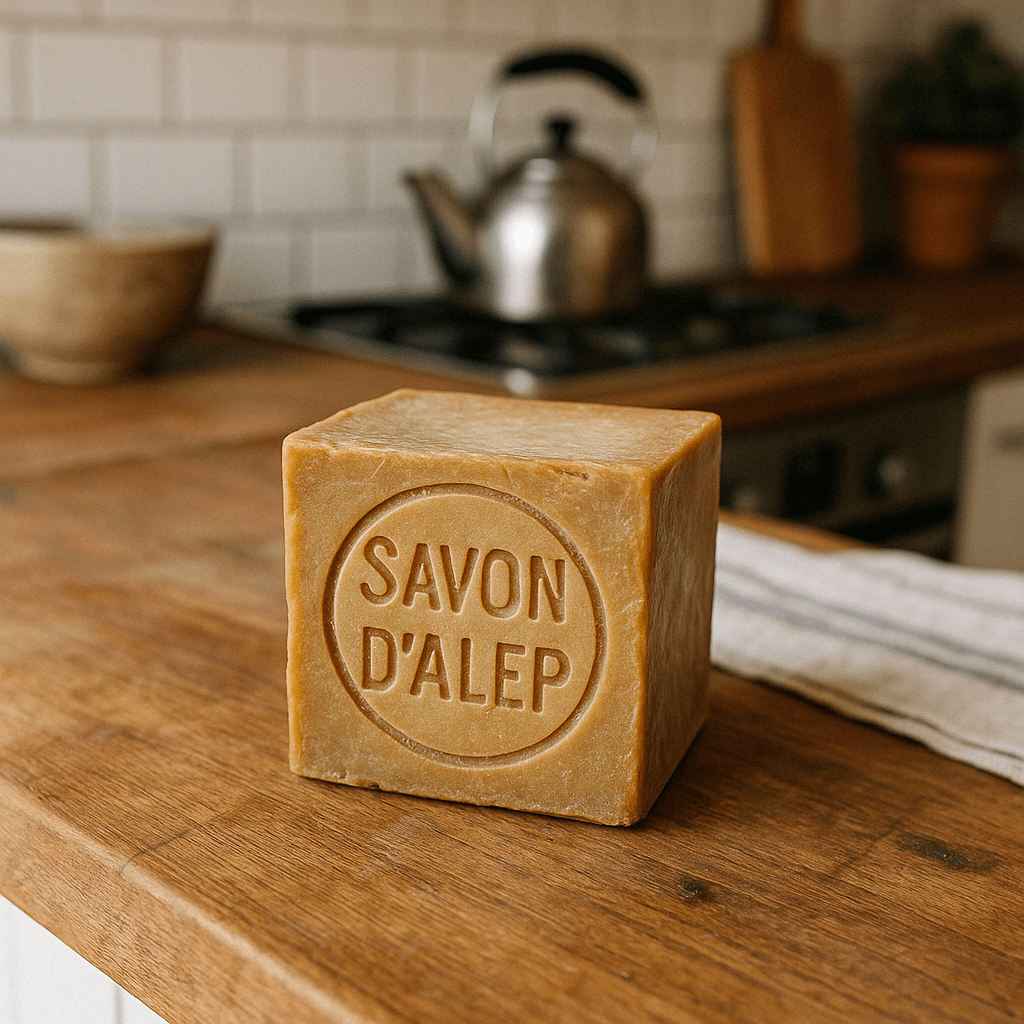
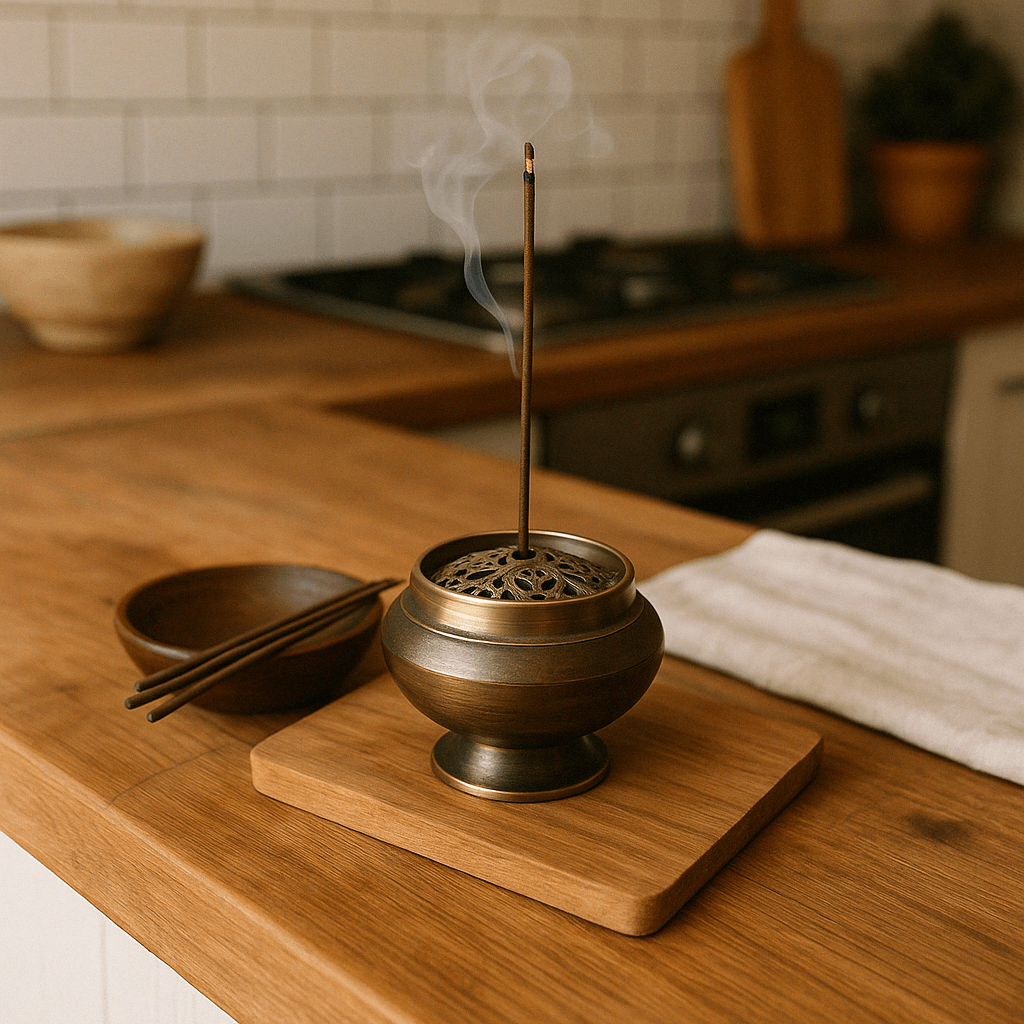
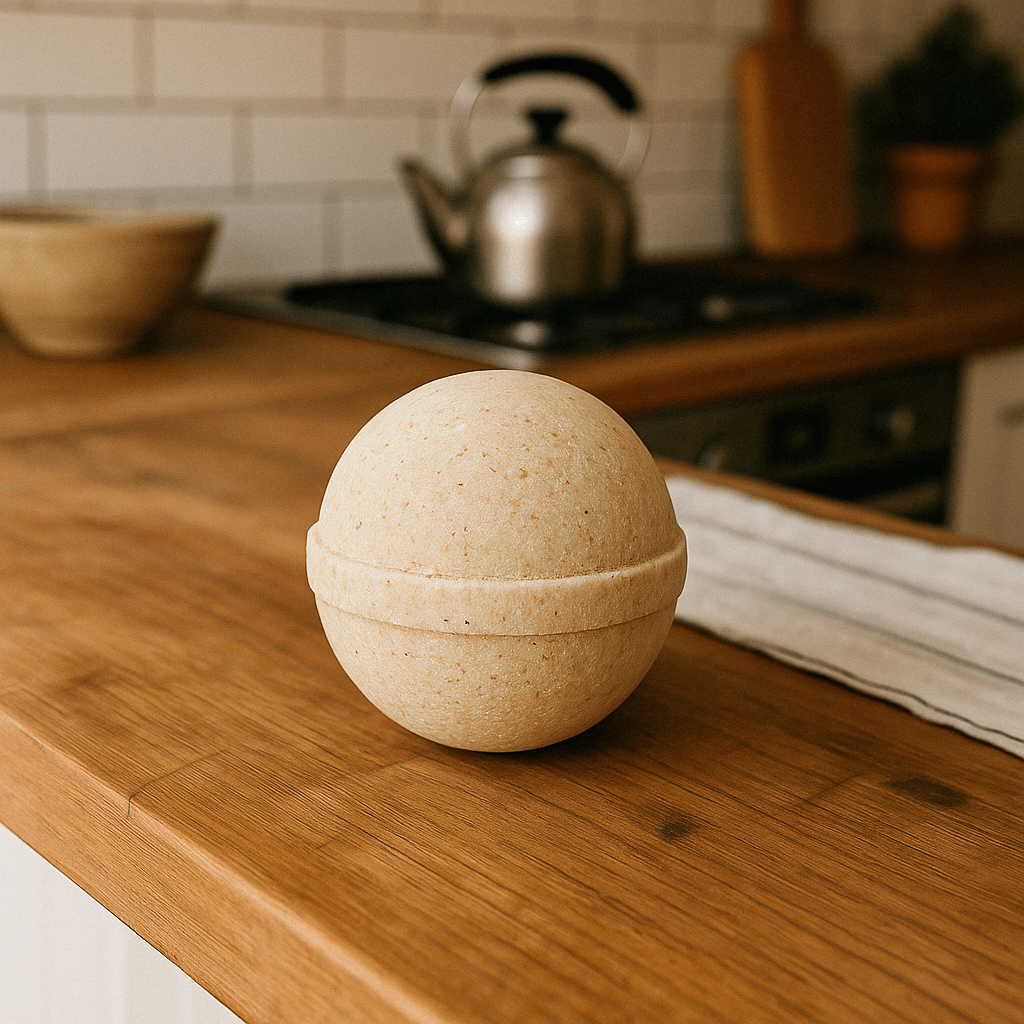
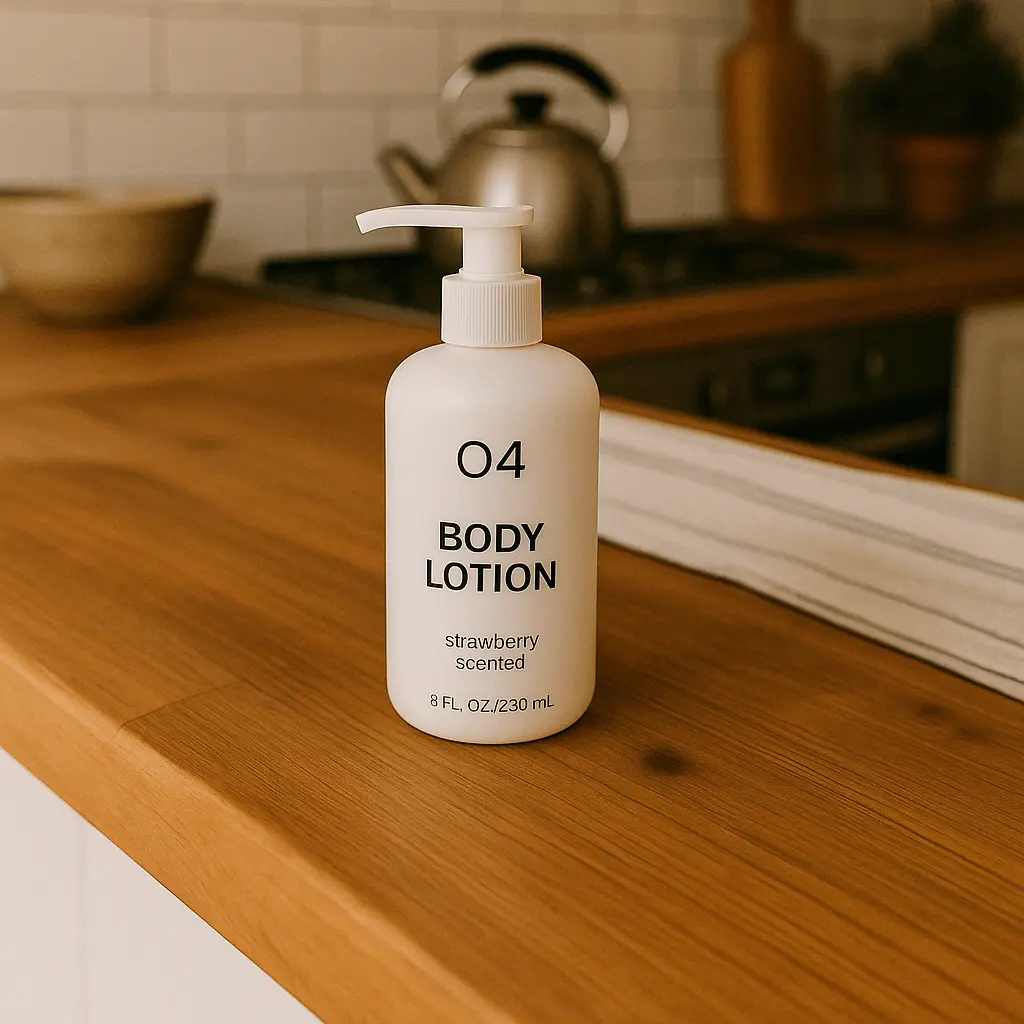
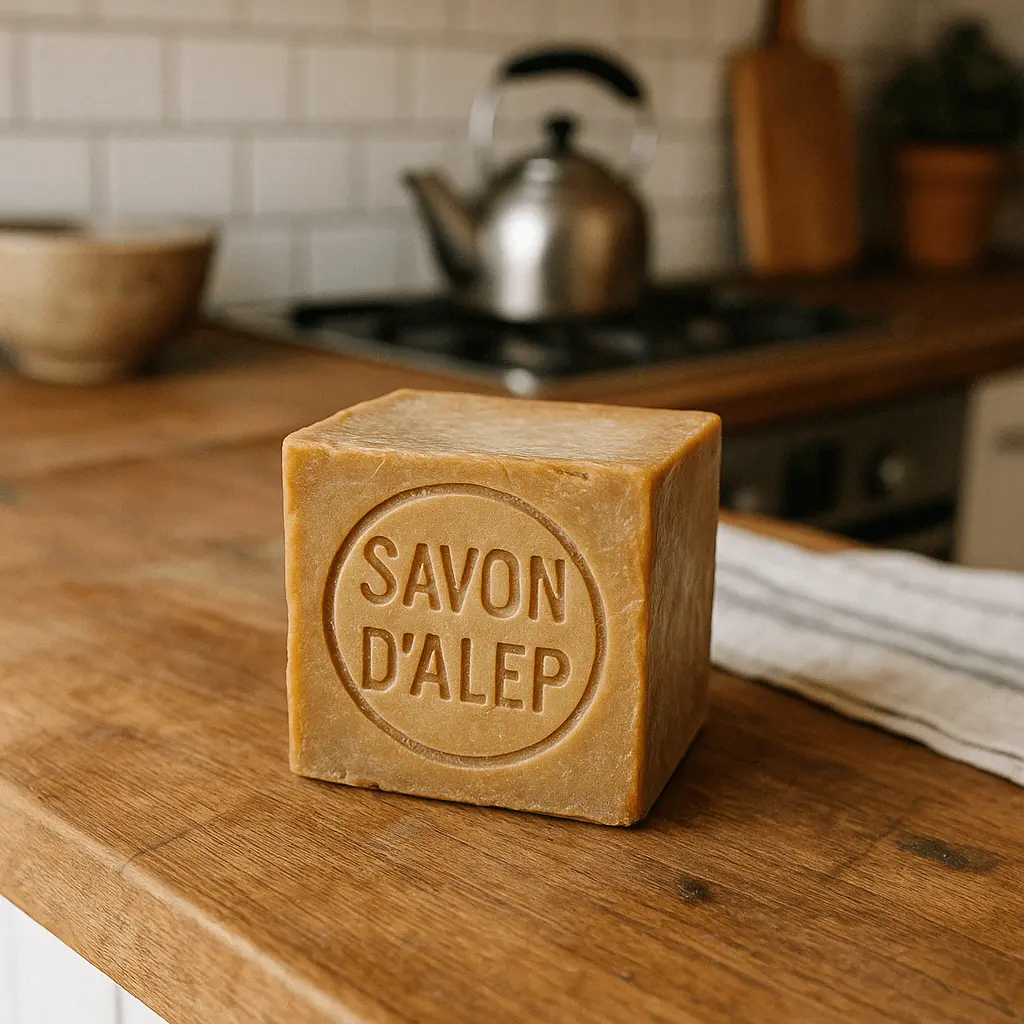
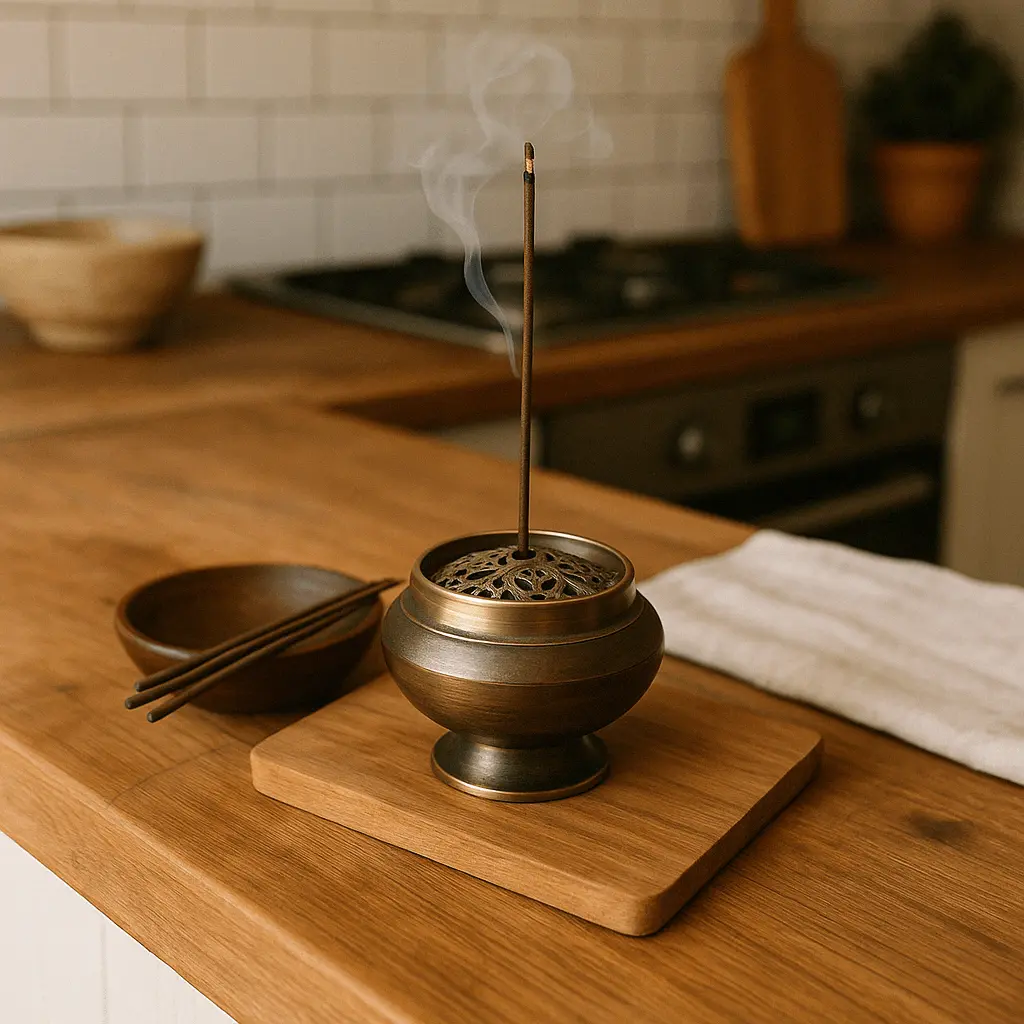
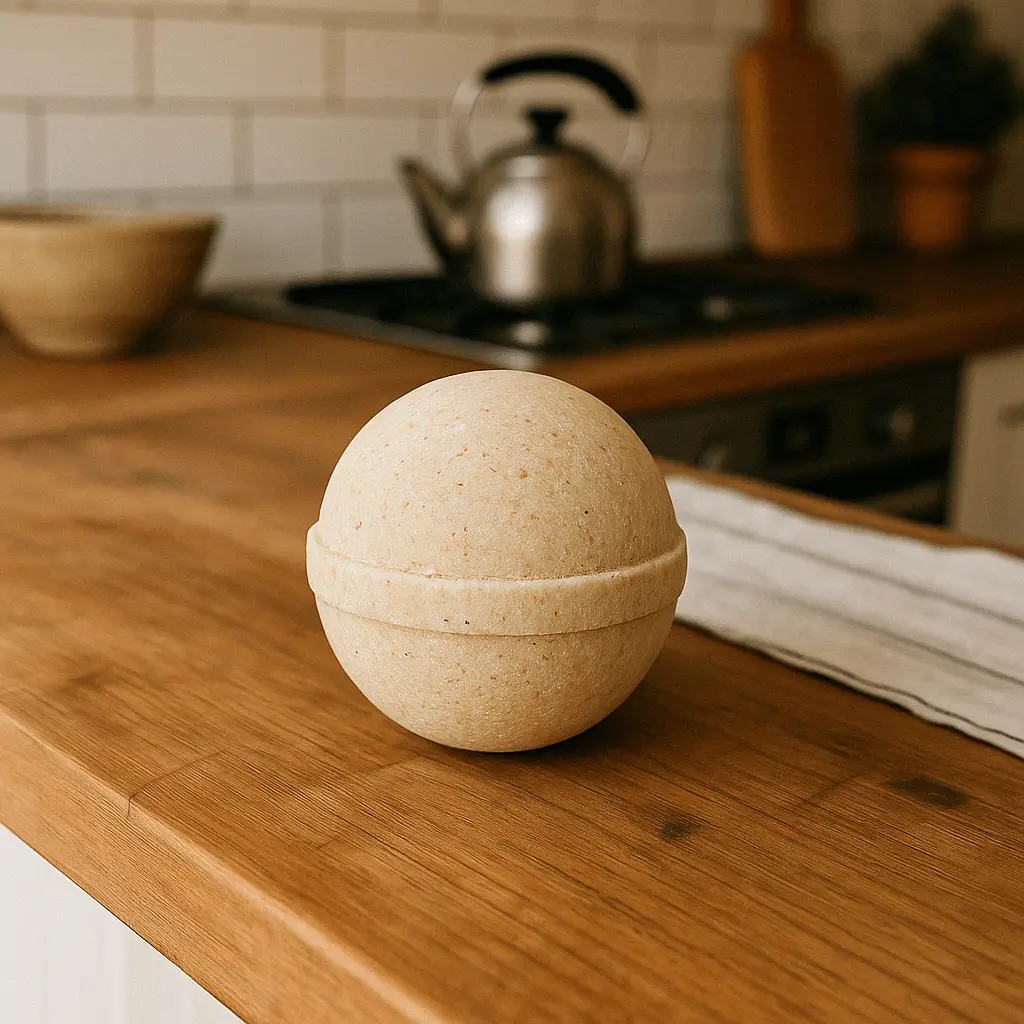

Image source: OpenAI Official Image Generation Guide.
3. Masked Local Editing: Adjust Only Part of the Image
This is suitable for replacing objects in a background, changing local decorations, or cleaning up the scene around a product. Prepare the original image and a mask with an alpha channel, mark the area to edit with a transparent region, and add text requirements.
The original image and mask must have matching sizes and formats and meet the endpoint’s file limits. When there are multiple input images, the mask applies to the first one. A mask is an editing guide, not a pixel-level locking guarantee. After completion, compare the unselected areas to check for unintended changes.
The official example demonstrates mask editing with a pool scene: first provide the original image, then use the mask to specify the pool area to edit, and finally add a flamingo float. Viewing in the “original → mask → result” order makes the edit scope easier to understand.
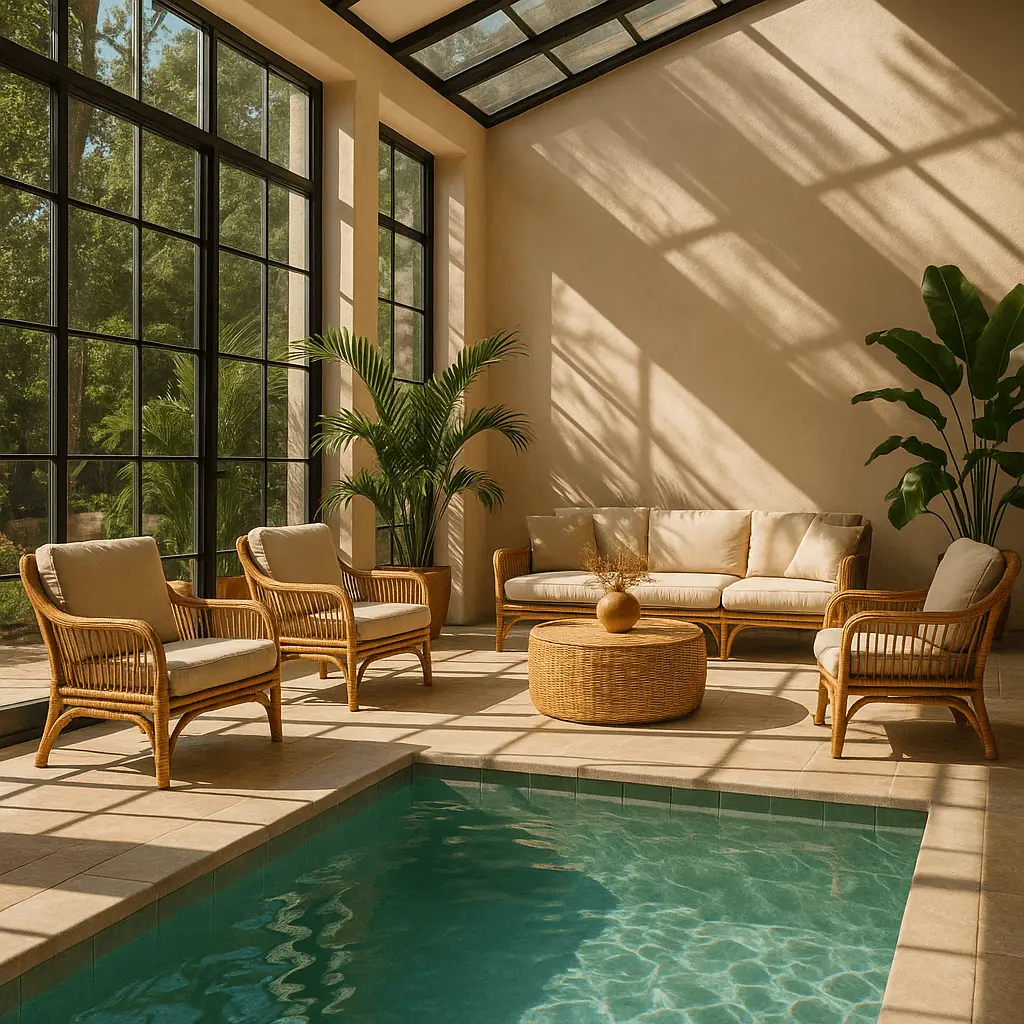
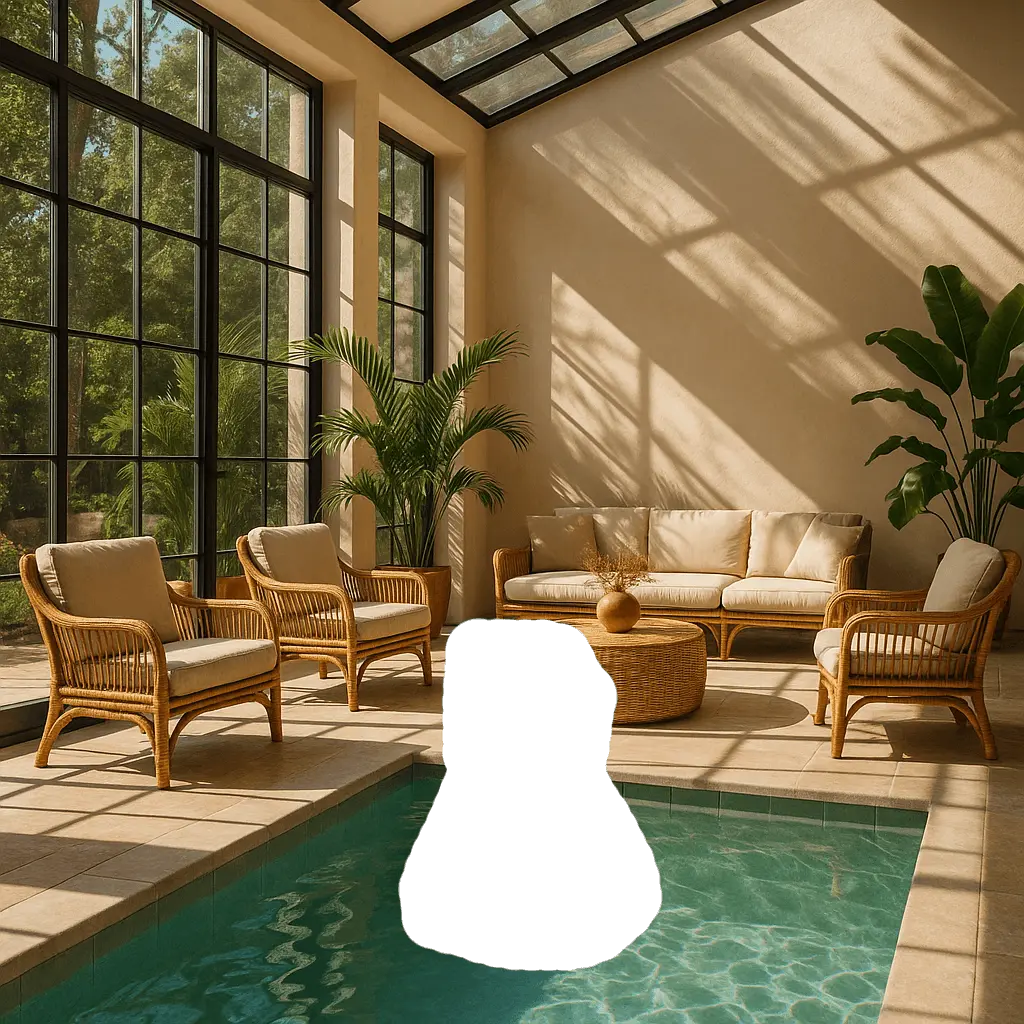
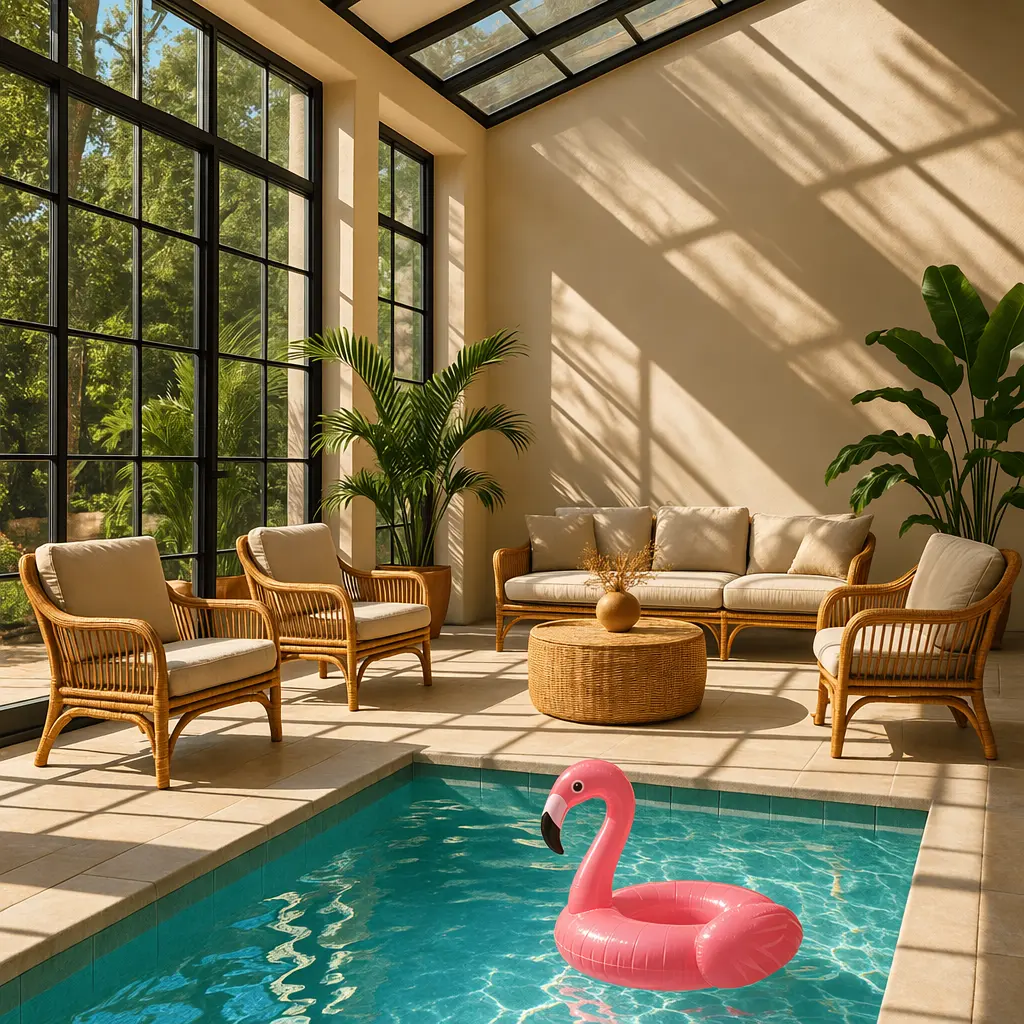
Image source: OpenAI Official Image Generation Guide.
4. Multi-Turn Conversational Editing: Keep Refining the Same Image
For example, generate an illustration first, then ask for a more realistic look, and finally adjust the lighting. The Responses API can continue context through previous_response_id, or you can pass the previous image generation item or image ID into later requests.
action controls behavior: auto lets the model decide, generate requests a new image, and edit requests editing of an existing image. When you force an edit, image context must be provided or an error occurs. In each round, express “what to change this round” and “what must be preserved” separately.
The official multi-turn example first generates “a gray tabby cat holding an otter wearing an orange scarf,” then adds the request, “make it more realistic.” The two images below correspond to two consecutive rounds of revision, not a quality comparison between the two models.
- First round: generate a gray tabby cat holding an otter wearing an orange scarf.
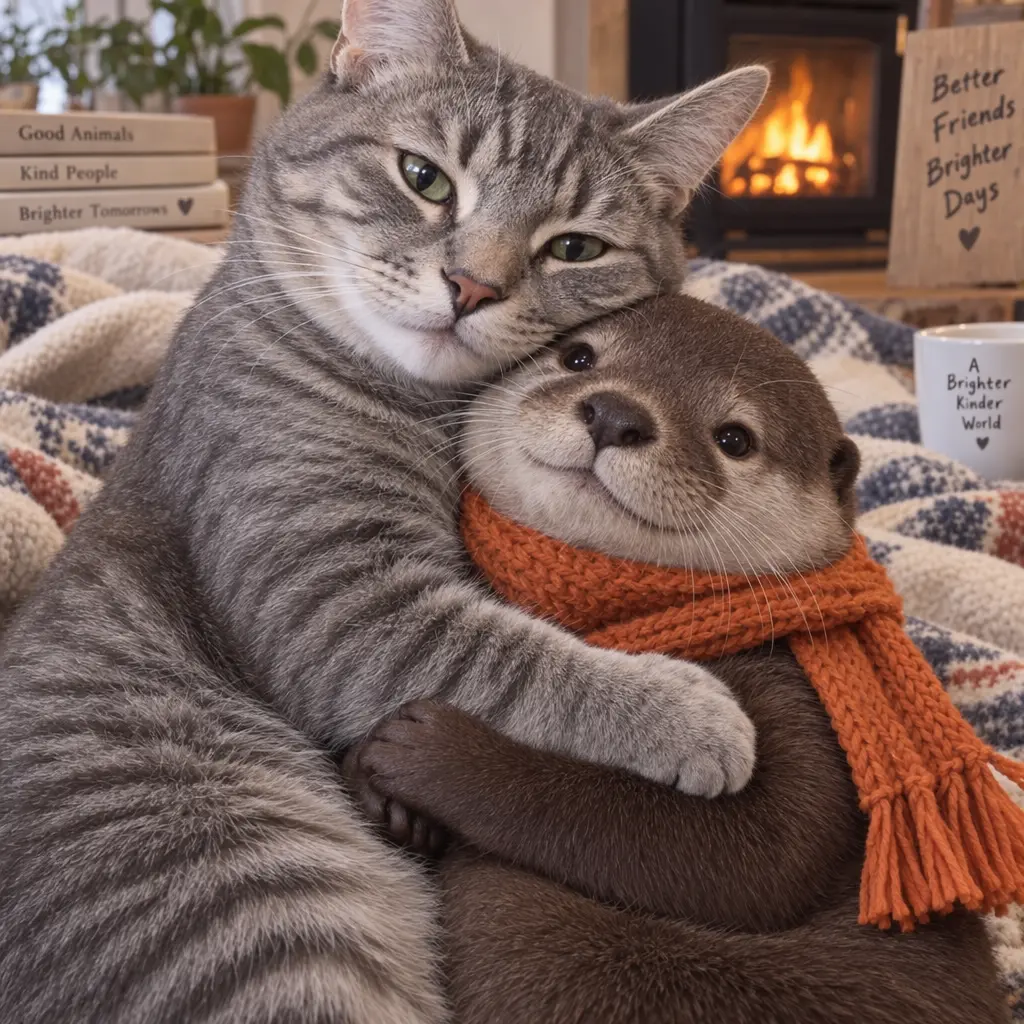
- Later round: make it more realistic.
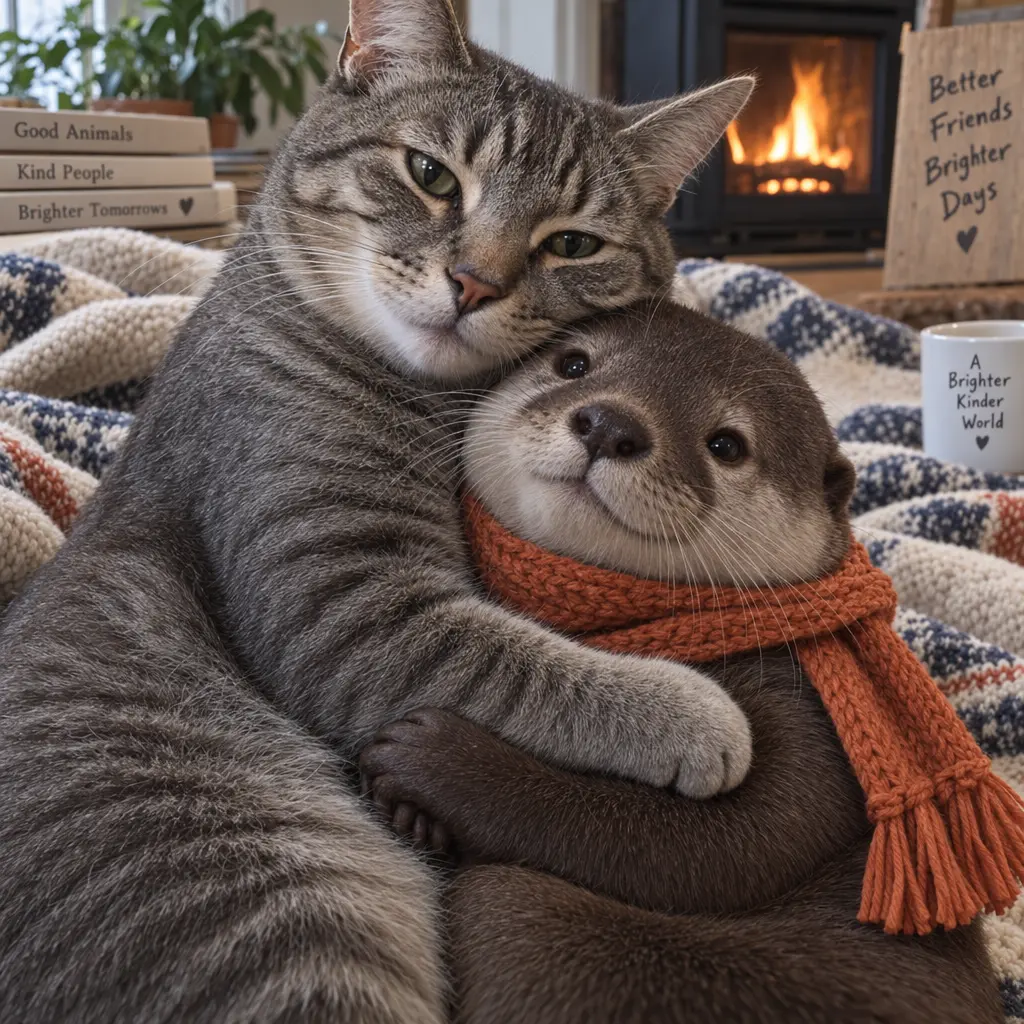
Image source: OpenAI Official Image Generation Guide.
5. Streaming Preview: View Intermediate Results While Waiting
Streaming generation is well suited to interactive design tools. Enable stream and use partial_images to request intermediate previews, with a range of 0–3. A value of 0 means you receive only the final image. Even if you request several previews, generation may be fast enough that you receive fewer.
Apps should label intermediate images as previews and treat the image from the completion event as the final deliverable. Each intermediate preview adds 100 image output tokens, so the number of previews is also a cost option.
The official example uses “a river made of white owl feathers” to show streaming generation. The first two images are intermediate previews; the third is the final result. You can observe how feather shapes and foreground details form step by step.
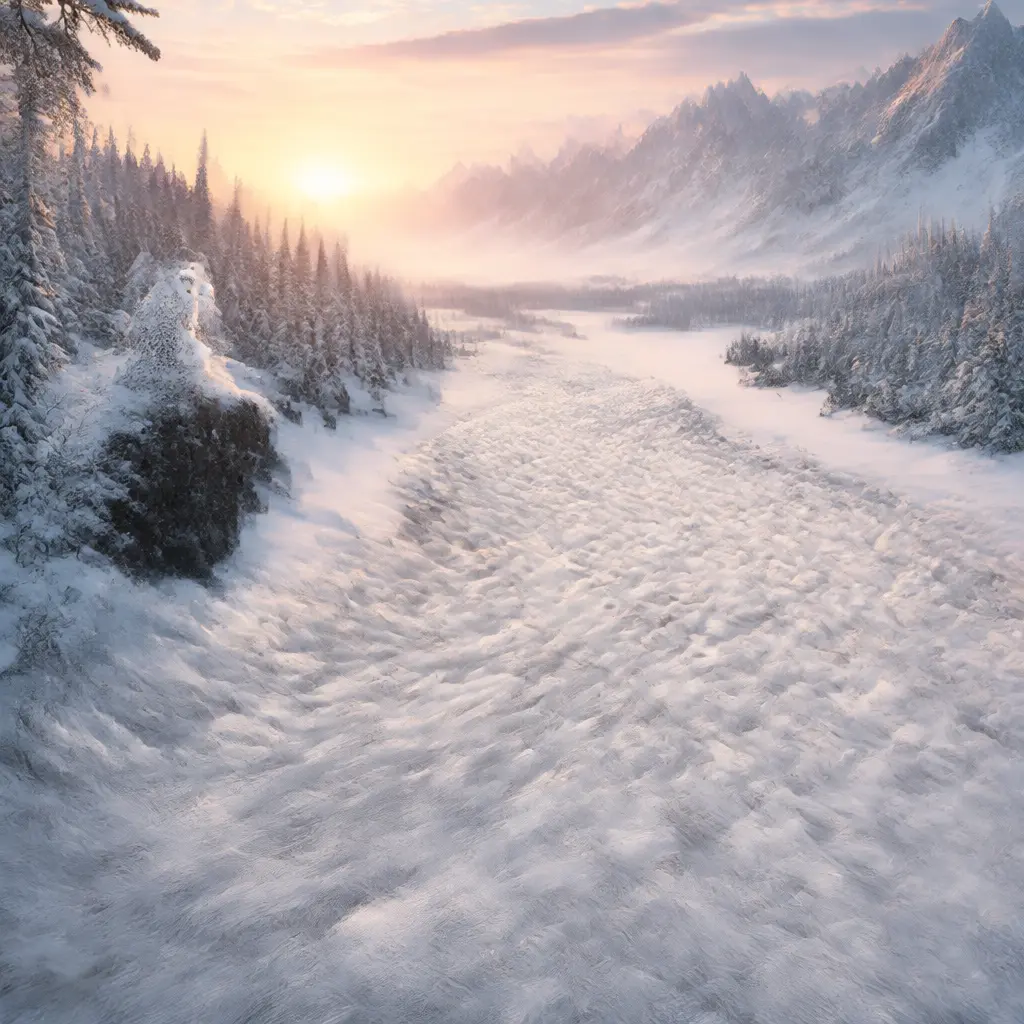
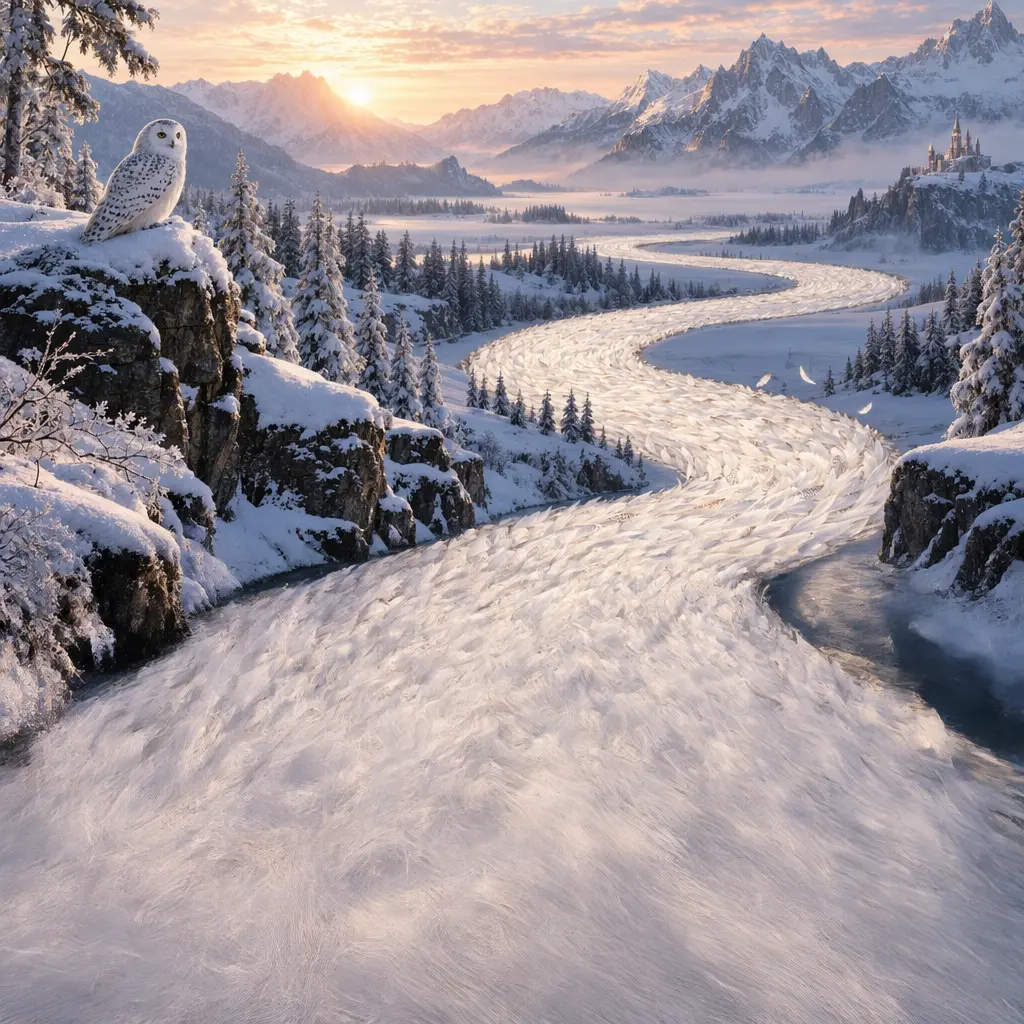
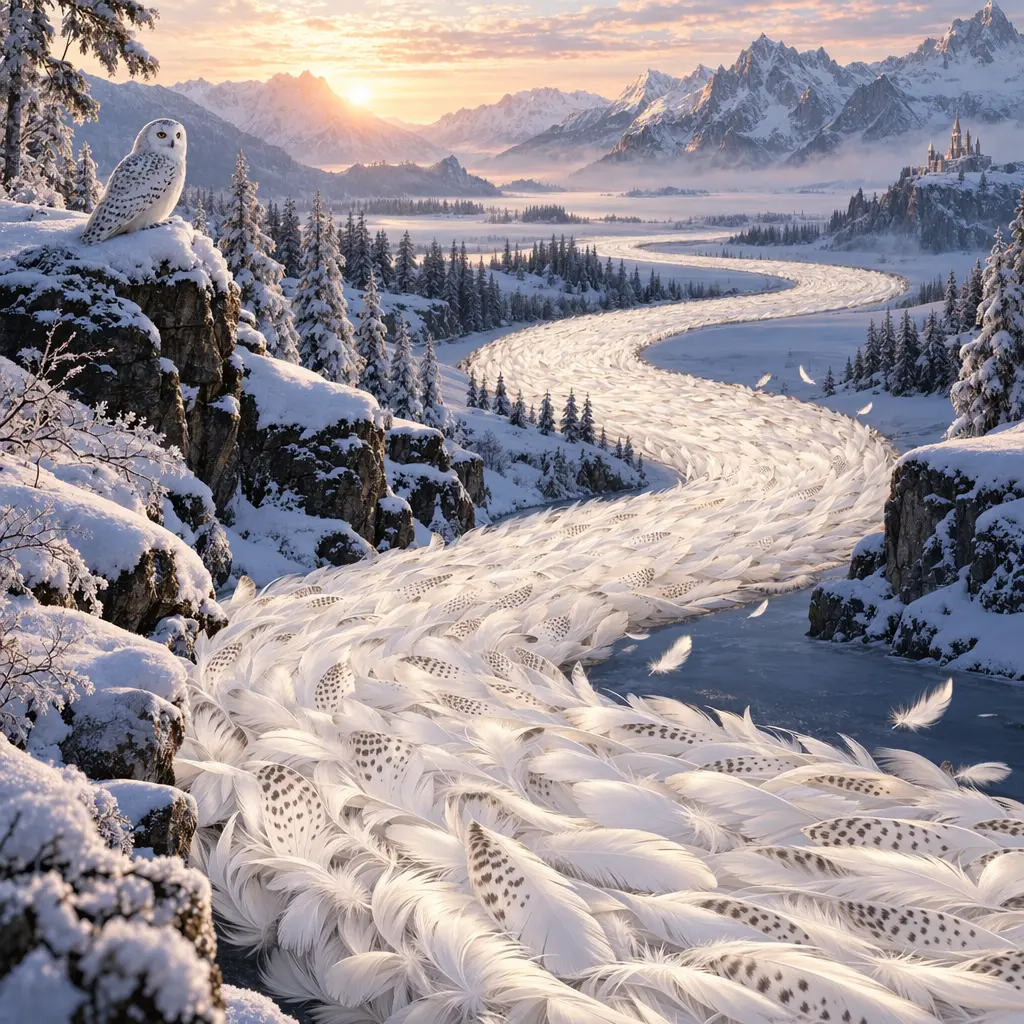
Image source: OpenAI Official Image Generation Guide.
6. Control the Final Output: Size, Quality, Transparent Background, and Format
| Goal | Key settings | Usage suggestions |
|---|---|---|
| Square avatar | size: "1024x1024" |
Prioritize a clear subject that remains recognizable when scaled down |
| Horizontal illustration / vertical poster | 1536x1024 / 1024x1536 |
Set the ratio based on the final display position |
| Custom ratio | size: "1536x864", etc. |
Follow the size constraints in the current documentation |
| Quick draft / polished final | quality from low to max, or auto |
Compare detail, time, and cost with real tasks |
| Transparent background assets | background: "transparent" + PNG or WebP |
Use for stickers, icons, and product assets; check alpha edges before delivery |
| Web display files | output_format and output_compression |
Choose PNG, JPEG, or WebP based on use; JPEG does not preserve transparency |
For 2.5, custom width and height must be multiples of 16, the aspect ratio must be between 1:3 and 3:1, no single side may exceed 3840 pixels, and total pixels must be between 655,360 and 8,294,400. Resolutions above 2560x1440 remain experimental. JPEG and WebP compression can be adjusted with output_compression; before uploading to a website, re-check file size and clarity.
7. Put Image Generation into an App: How to Choose Between the Two APIs
For processing a single independent image, the Images API is more direct. When images need to keep being modified across a conversation, the Responses API is better for organizing context. The two methods place the image model in different locations:
| Method | Where the image model goes |
|---|---|
| Images API | model at the top level of the image request |
| Responses API | In tools, the model of the image_generation object |
{
  "model": "gpt-6-astra",
  "input": "Create a warm editorial illustration of a ceramic cup beside a book.",
  "tools": [
    {"type": "image_generation", "model": "gpt-image-2.5-sunburst"}
  ]
}
In Responses, the language model may also optimize the original prompt. Check revised_prompt to see the description actually used. When recording for reproducibility, save both the original prompt and the rewritten prompt. Costs include both the main model processing and image generation usage.
When failures occur, record the request ID and first distinguish between authentication, quota, rate-limit, and input-change errors. Temporary service errors can be retried with backoff. For insufficient balance or image_generation_user_error, resolve the underlying cause first; do not resend the same request indefinitely. Content moderation parameters and legacy model-specific parameters should be checked separately in the documentation. Do not apply the old input_fidelity setting directly to the new models.
When using Responses, the top-level language model and the image model inside the tool do different jobs; consider model selection and cost separately. If you still need to compare current language models, read GPT-6 Astra vs. Claude Fable 5.1.
As of September 9, 2026, our tests show that Codex subscription image generation still returns GPT Image 2 (gpt-image-2-codex) by default, pending a future official update.
FAQ: GPT Image 2.5 Release Date, Pricing, Flare vs. Sunburst, and More
When Is the GPT Image 2.5 Release Date?
OpenAI’s official release date is September 8, 2026. The ChatGPT product name is ChatGPT Images 2.5, and the API offers two models: Flare and Sunburst.
Which Is Better for Everyday Use: GPT Image 2.5 Flare or Sunburst?
According to official positioning, Flare is suitable for fast everyday creation, while Sunburst is suitable for tasks that require finer editing control. Test with your own typical assets first, then decide on a default model.
Is GPT Image 2.5 Free?
The normal ChatGPT Images feature is available across all plans, but that does not mean usage is unlimited. The public API is billed by usage.
Is Sunburst’s Token Unit Price More Expensive?
Currently, the two models have the same standard token unit price. The actual cost per image can still differ because of usage, so check the real request usage.
Do I Have to Choose Flare or Sunburst in ChatGPT?
The official help document describes the Images creation entry. The API documentation is where these two model IDs are explicitly provided. When using ChatGPT, follow the actual interface; do not treat the language model selector as an image model selector.
Related guides
GPT-6 Astra vs Claude Fable 5.1: Coding, Agents, Pricing, and Benchmark Comparison
GPT-6 Astra and Claude Fable 5.1 are both publicly available, and both are flagship models priced at $10 per million tokens for input and $50 per million tokens for output, but they have trade-offs in programming, computer operation, long tasks, cache costs, and context. This article uses a common benchmark to compare them item by item and provides a method for selecting models based on tasks.
Read article →
Can You Share a ChatGPT Subscription Without Sharing Your Password?
Share ChatGPT Plus and Pro subscription access with family and friends through a revocable Codex connection, without handing over your password. You can also share conversations through read-only links.
Read article →
Is GPT-6 Astra Available Now? How to Safely Share It with Family and Friends
Yes — GPT-6 Astra is now fully available to eligible paid plans, Codex, and the API. This article explains the permission differences among Plus, Pro, Business, Enterprise, Free/Go, and GPT-6 Pro, and demonstrates how to securely share via revocable Agent connections without sharing OpenAI account passwords or API Keys.
Read article →